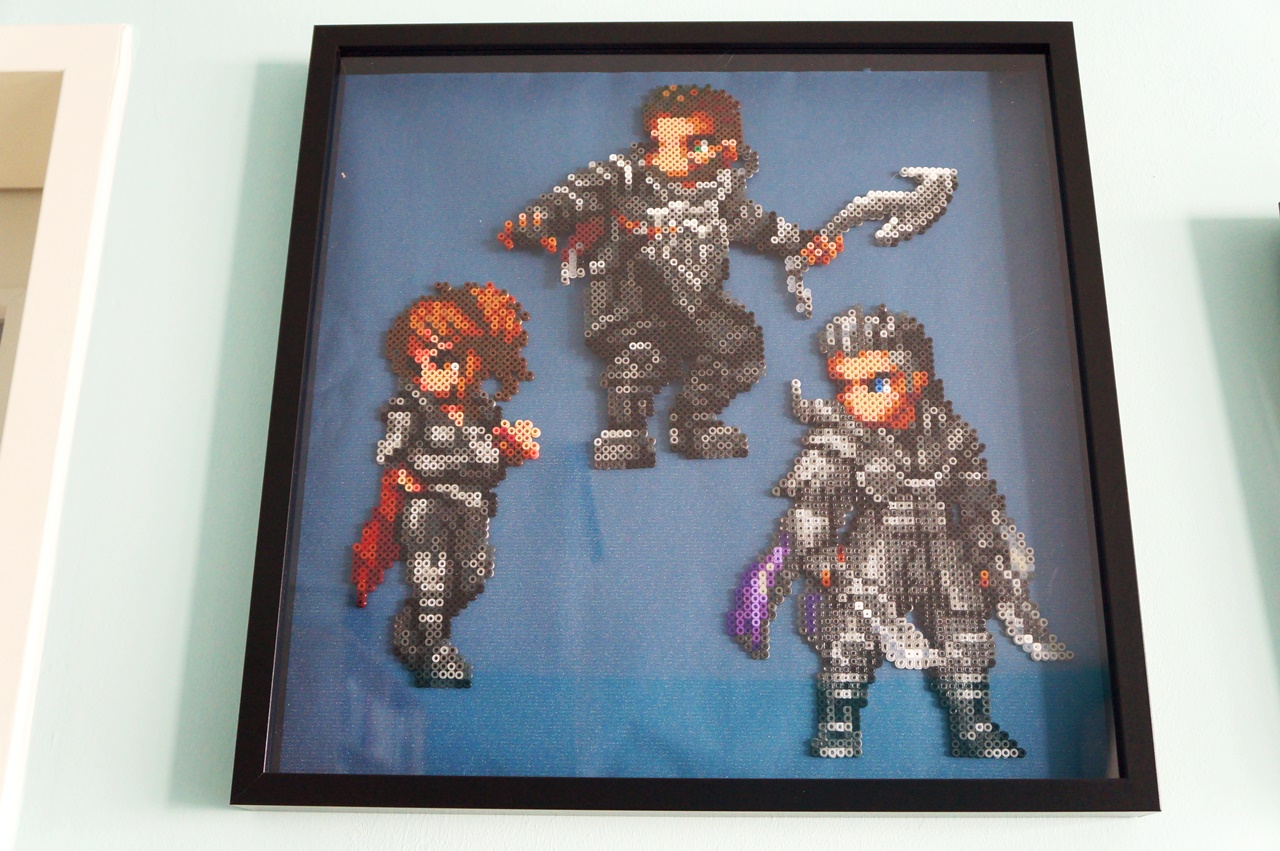
31 Oct Kingsglaive: Final Fantasy XV – Beads Art
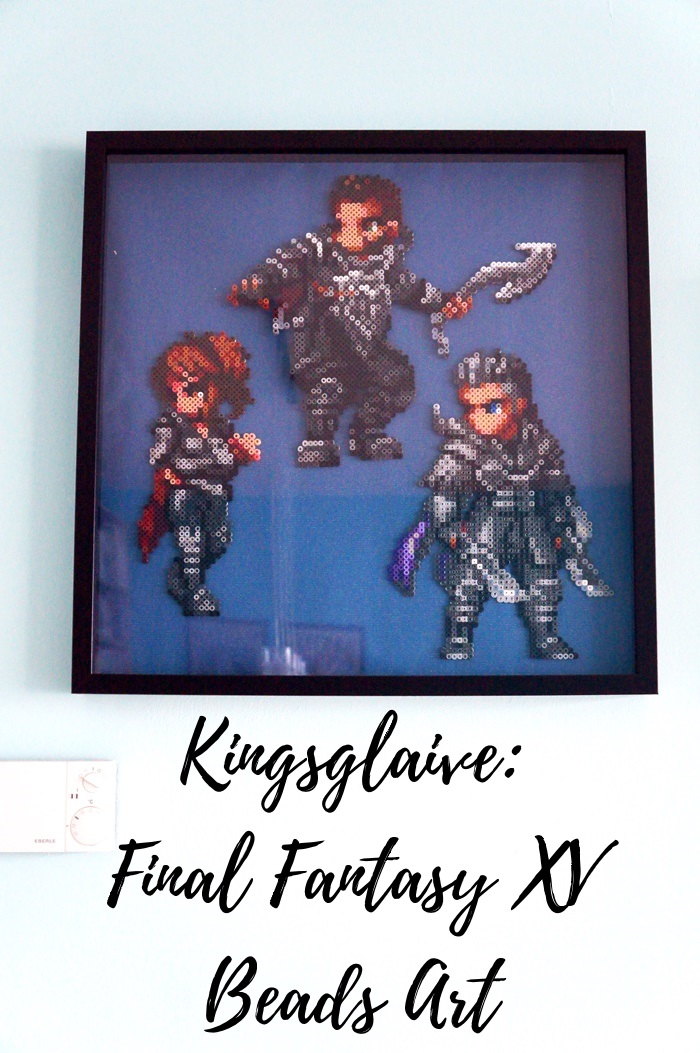
I finally finished my next Hama bead project: A framed Kingsglaive: Final Fantasy XV – beads picture! These were the biggest Hama bead creations I ever made and it took a while, but I had a lot of fun making them.
I really wanted to do a new Hama bead picture for our living room for a long time, but I never found any pixel arts that screamed: Bead me immediately! ^,^° While Final Fantasy XV wasn’t a really good (nor really bad) game, what I most liked about it was the Kingsglaive: Final Fantasy XV animated movie that takes place before the main story of the game. The characters were pretty awesome and the story was also interesting. I especially liked Nyx Ulric, but the other Kingsglaive members were cool as well.
When I found some pixel arts of Nyx, Crowe and Libertus, taken directly from the mobile game Final Fantasy: Brave Exvius, earlier this year while browsing for Kingsglaive pictures, I knew this will be my new picture! Unfortunately the Kingsglaive event in the non-Japanese version of Brave Exvius just ended some days ago, but as far as I know, you can still get the characters in the draws if you are lucky. Tom spent so many tickets until he finally got Nyx… ^_^°
Let’s start arranging the beads!
I already started making the character arts in January this year. I just took us a long time to find a good background frame. The first character I made was – of course – Nyx! The characters were so big that I needed four rectangular boards for each of them.
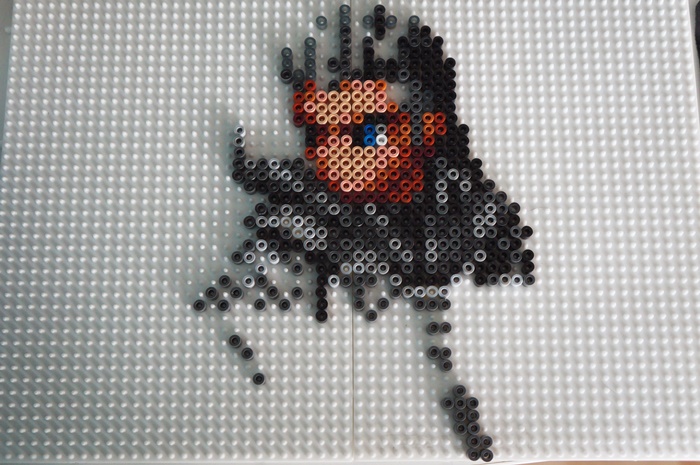
I learned from my earlier Hama pixel art pictures that the best approach is to decide which bead color you use for which pixel color first. I’ll open the .gifs in a paint program and use a color picker to get the hex codes for all the different colored pixels. Then I’ll write all the codes on a piece of paper and try to find the best matching bead color and write the color name next to it. And not till then I’ll start the setting of the beads.
If I learned one thing from my last project (the Final Fantasy XII group), it’s that if you start putting all the beads on your board first, without choosing the colors of the beads you’ll be using, you might realize right in the middle, that a certain color isn’t as good as you thought, or you overlooked some pixels and then you have to remover everything again and start over.
Also never try to distinguish colors on your monitor just by looking at them. It might be okay with really simple pixel arts, but with a project like this and almost 50 shades of gray (^.^°), your eyes will trick you (mine did multiple times, at least). And then the overall result might look a bit strange and unbalanced. That’s why I decided to use the hex codes for foolproof determination.
Nyx Ulric
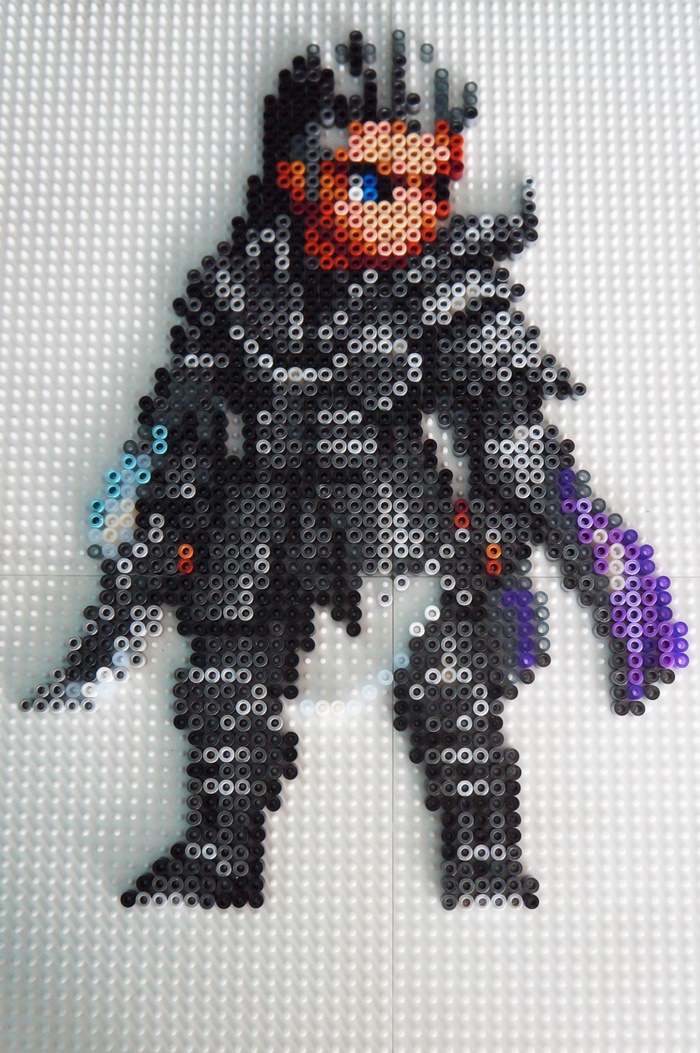
And please don’t forget to mirror your image if you want to have the not ironed side in the front like I always do ^,^°…
It took me some time because Nyx had so many different shades of silver and gray, and I only had a limited number of bead colors, but in the end, I was really happy with the result. Unfortunately, I ironed some parts of Nyx too long (and pressed too strong). But if you don’t look at it directly, you won’t even notice it.
Crowe Altius
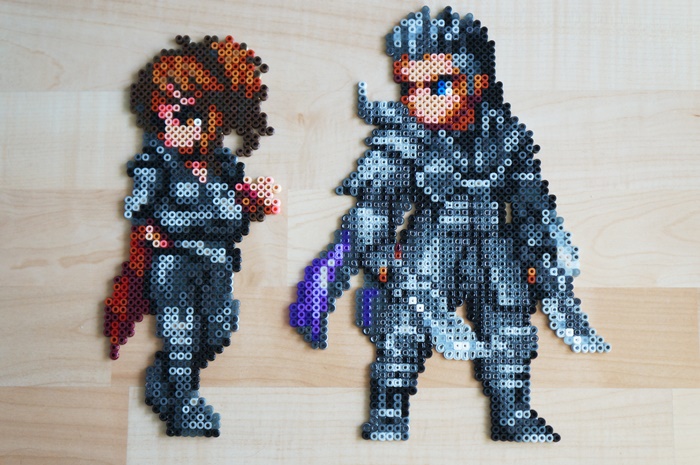
Next up was Crowe. Luckily she had some more red and brown pixels and not that many gray ones. She is the smallest of the three and the easiest to arrange, so I finished her quite fast. I really like her, she was so cool in the movie!
Libertus Ostium
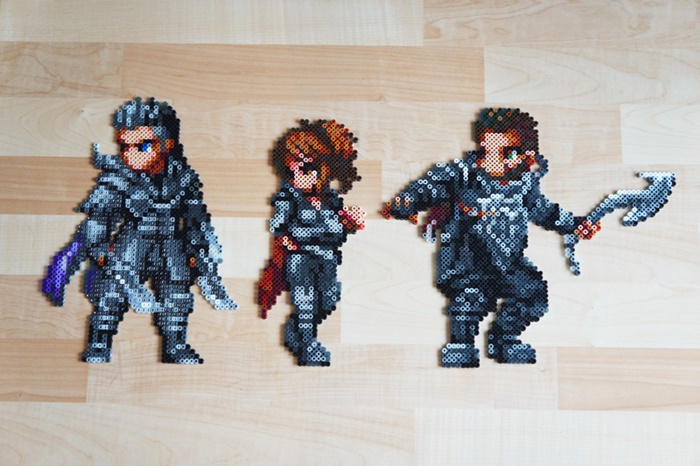
The last of the three was Libertus. I’m not completely sure, but I think he needed the most beads. I really like his dynamic pose with the weapon. He just almost didn’t fit the four boards. It was very close, but in the end, everything went fine with one or two pixels on the edges left.
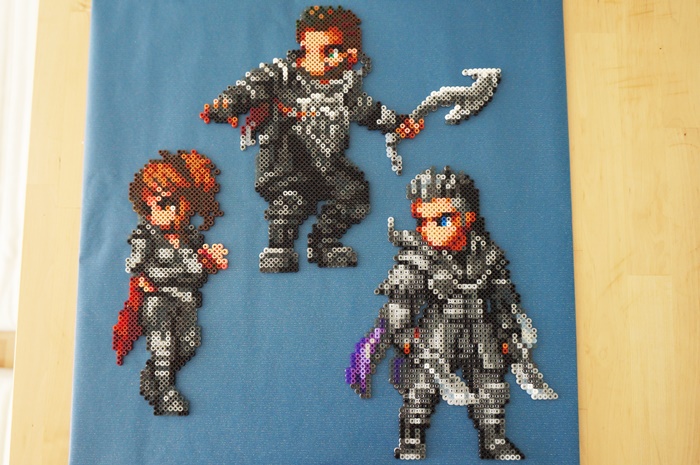
After I finished all the characters I put them away for over half a year. It’ wasn’t until October when I finally found a good picture frame were all three fit in. We first bought a 40x50cm frame form Mömax, but it was just a bit too small. So I was really happy, that IKEA had RIBBA frames in 50x50cm! We placed them on different levels so that it seems like they are standing behind each other.
The finished picture
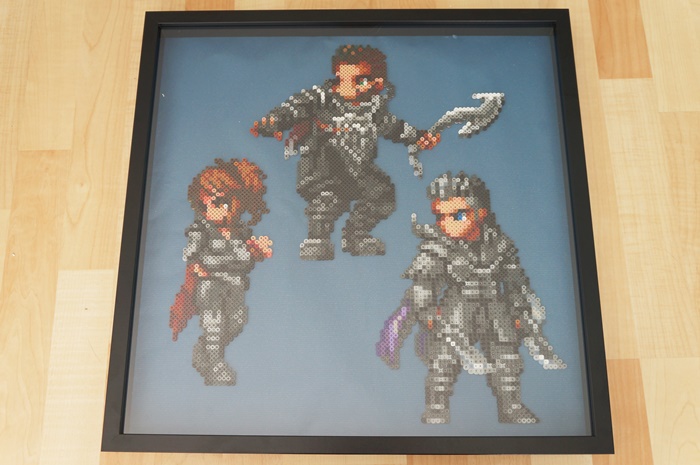
For the background, we used some dark blue gift wrapping paper, with some metallic accents. We thought this might be the best color to suggest what the city of Insomnia might look like. First, we tried some silver and dark gray wrapping paper, but the contrast to the beads was too low so you couldn’t really see them.
It was a little tricky to attach the characters to the background because they are quite heavy (especially Libertus). We used some adhesive tape first (like in the FFXII and Zelda picture), but after some time Libertus suddenly fell to the ground. After that, we just used the hot-melt gun and that worked (for now o_O).

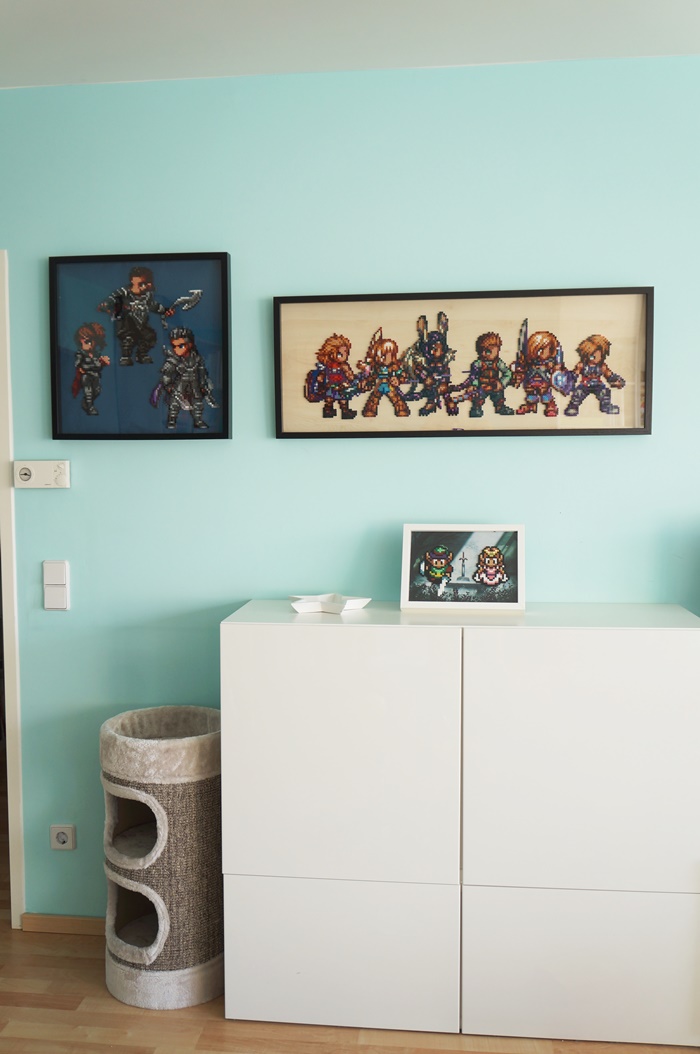
We hung the picture on the wall in our living room right next to the Final Fantasy XII picture. I really like the next to each other. And just below, standing on one of our sideboards, you can see my first Link and Zelda picture from Zelda: A Link to the Past.
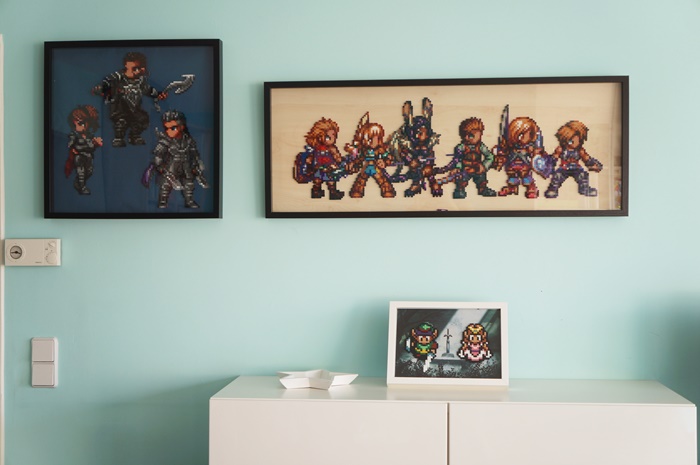
I really love this corner of our living room. We even got a new (and smaller) scratching post. The old one was already pretty damaged and they didn’t use it that often anymore anyway. Meia loves the small caves.
I’m really looking forward to my next project. I haven’t decided on anything yet, nor have I found any new good pixel arts to use. But maybe Final Fantasy IX or Secret of Mana might be nice.
What do you think about my Final Fantasy XV – Bead Art? Did you ever make something similar? Do you have any ideas what I can turn into a bead art picture next?


